4.
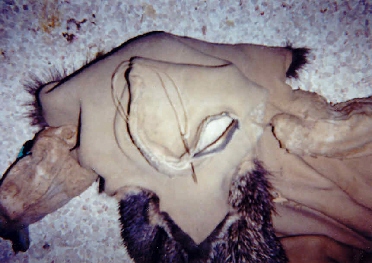
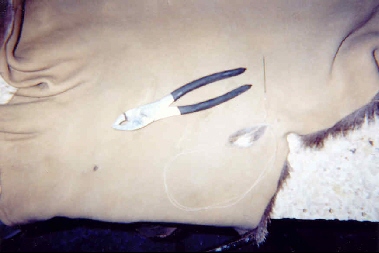
The ONLY thread we use in sewing birds and fine haired areas of big game is "Button and Carpet Thread." It is as fine as sewing machine thread but is very difficult to break with your hands when the thread is doubled up. It is common sense to mention that you ALWAYS choose the color of thread that best matches the color of the hair for further camouflaging of the hole. We do have some heavier thicker cape thread for the main sewing jobs of sewing the cape on the form where even more extra strength is needed. For this job above; thinner strong thread is better because the thinner the thread with the strength still present allows further camouflaging of the hole; the hole has even a lesser chance of showing because the thinner thead takes up less room on the hole closure. Sometimes plyers or a small pair of vise grips are needed to push the needle through the thick hide. Before we close this step; we must examine all the cape to make sure their are no more
6.
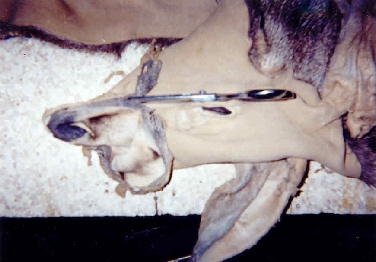
Next we need to trim the extra lip skin off leaving about a 1/4" of the lip still left from the gum line. This also takes off the jagged edges. For a CLOSED MOUTH MOUNT we will leave the 1/4" lip skin from the gum line. IF we are doing a OPEN MOUTH MOUNT we cut off ALL the lips clear to the gum line,
not cutting the gum line,
and then pin the gum line to the open mouth area on the form when mounting. OPEN MOUTH MOUNT skin is glued to mannikin
7.
On a CLOSED MOUTH MOUNT we will sew the lips up. We use a "Whip Stitch" on this sewing job. We double the thread; cut it; tie the end off; then push the needle through the lips we are sewing together; bringing the needle around to the front we put it through the loop of the thread and then pull and lock down the stitch. Then pushing the needle through the front again; this makes a looping around the lips as you finish to the end of the lips.
5.
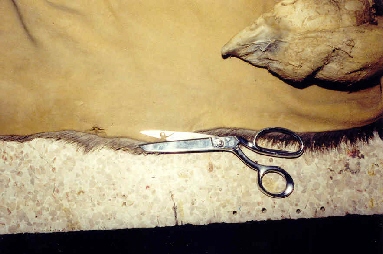
The edge of the entire cape is checked and all the excess skin that was shaven off the cape when the tannery was shaving and fleshing it down is trimmed off with scissors. This will be needful so this excess flesh that was trimmed to the edge of the cape won't get bunched up or in the way of sewing the cape onto the form when it's time. We will start at one place on the cape; doesn't matter where; then we will make a visual check ALL the way around the cape to our starting point again.
(Above Picture)
1.
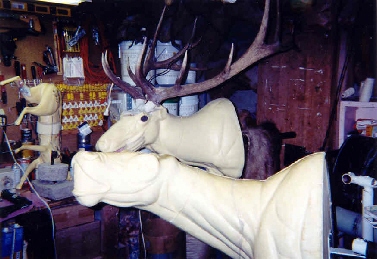
Some forms/mannikins come with the jaws installed by the taxidermy supplier for extra $$. OR like the picture above, you can install your own jaw set. The taxidermy suppliers leave strafoam in the mouth area so that the form is solid upon shipment to the taxidermist. All you do since you didn't want to spend the extra money to have the suppliers install the jaw set is to carefully cut out the strafoam around the lips and back into the throat until your jaw set fits. Then you secure the jaws in the form with an adhesive. I leave the tongue out until after we are all done with spray painting the mouth; then we secure the tongue in permantely.
(Above Picture)
4.
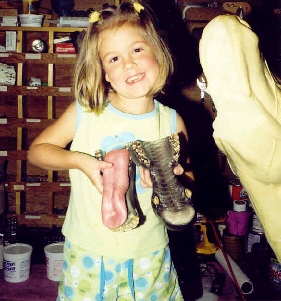
Here is a picture of a elk jaw set. They are made out of plastic and painted to a general coloration of the most common elk mouth studies. The tongue is rubber. We have often had scout groups that have toured our shop and the cub scouts like to order the rubber tongues and jaws to scare their mothers or the girls; you know, boys will be boys.
(Above Picture)
WE WILL TAKE A SHORT DETOUR FROM OUR CLOSED MOUTH MOUNTS TO BRIEFLY TALK ABOUT
EXTRA WORK INVOLVED FOR OPEN MOUTH MOUNTS. (Numbers 1-5 in Red)
CLICK ON NATALIE'S BIG EARS TO THE RIGHT FOR NEXT PAGE OF MOUNTING PROCEDURES.
------------>
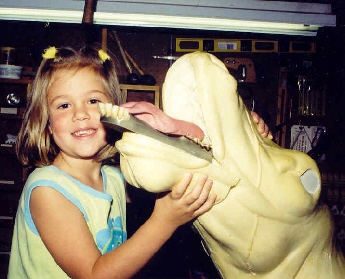
3.
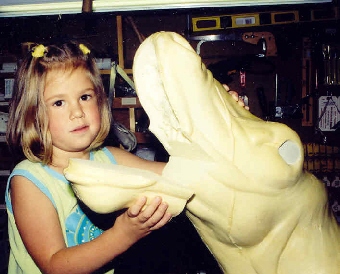
To set most jaws we cut off the lower jaw on the form. This allows for easier work hollowing out the strafoam that must come out so the jaws can be installed. A few jaw sets we have installed on a few specimens we have gotten away with cutting the form, but these elk jaws go back some. Notice how Natalie and I have started to cut foam out from upper jaw area.
(Above Picture)
2.
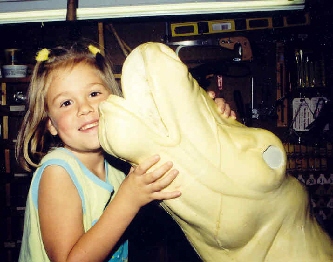
Heres a close up of the open mouth mannikin. We have hollowed out some of the upper jaw as far down the throat as we could reach. Now we are going to cut the lower jaw off so we can remove the rest of the strafoam to be able to fit both upper and lower jaw sets in.
(Above Picture)
5.
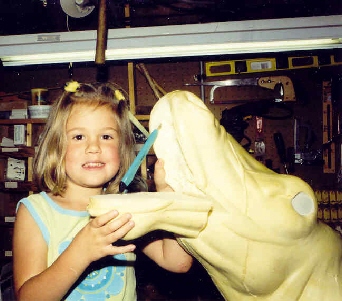
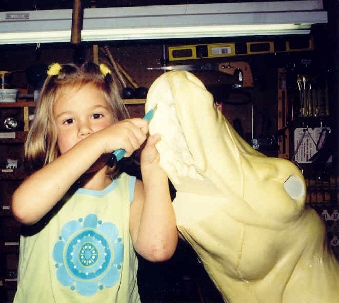
I use a disposable razor knife to carefully cut away the excess strafoam. It's almost a must to cut a straight deep cut right along the lip line; so when you cut out and pop out pieces of foam the foam pops out in a nice even line along the gum line; not cutting out to much strafoam to make the wall of the mouth weak by the foam along the gum line being to thin.
(Above Picture)
6.
It's easier to completly remove the lower jaw and work on one jaw area at a time. When the upper is hollowed out and the upper jaws fit with testing, then focus on the lower jaw.
(Above Picture)
7.
We don't have the lower jaw cut out yet, we are just showing where the lower jaws will fit when it is finished. The upper jaws on elk only have 2 teeth; they are both ivory and can be used by jewelers to make rings etc. See picture 4 for upper jaws pic.
(Above Picture)
PIC. OF SIDE OF ELK MOUTH CAULKED BACK TOGETHER WITH RUBBER BANDS.
(Pic. to come yet)
8.
When the jaws have been pretested and prefitted they are glued in one at a time. Then the lower jaw is caulked back into place to dry.
(Above Picture)
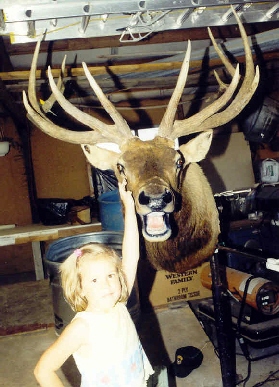
10.
The finished product with my secretary.
(Above Picture)
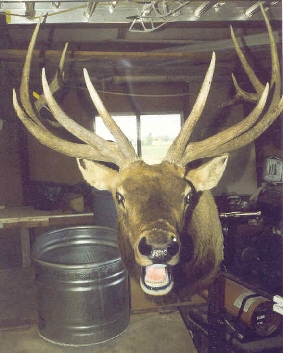
9.
The finished product.
(Above Picture)
Back
Next


